Showing posts with label Recipes. Show all posts

Monday, February 11, 2013

I Heart Hot Chocolate

We are a Hot Chocolate type of family. When it's frosty and chilly and snowy and we've been outside nothing is yummier to warm up with.

OR

When it's frosty and chilly and snowy and we've been inside *looking* outside!
I'll repeat. Nothing is yummier!

We decided to show our Love of the Treat and Celebrate the Month of Love all at once.


Why yes. That is a giant Heart floating in some Hot Chocolate. I'm sure you've seen shots of this on Pinterest and around. I'm not the inventor of the idea. And I'm not sure how everyone else does this...but I'll tell you how we did it!

I thawed a tub of Cool Whip. Then I flopped it on a sheet of wax paper and tried to spread it out evenly. I say "tried" because my children seem to think that as soon as the Cool Whip is out of the Tub it is perfectly acceptable to dip their fingers into it and chow down. (I wonder where they get their table manners from?) So...anyway...I was rushed.


Put your Sheet 'O Whip in the freezer. This is the hardest part. You have to wait for it to freeze.
And. It. Took. Forever.

So. We pulled it out when it was solid, but only just.
Use a cookie cutter in the shape you desire, and cookie cut away!


I think if we would have waited for it to become more firm it would have been not so messy pulling up the hearts. But it wasn't too bad! Maybe a few fingerprints...


Then heat up some Hot Chocolate and garnish it with your Cool Whip Heart.


Waste not Want not...Mom's mug got all the little non-heart bits left over from cutting!


This was really a fun way to serve up Hot Chocolate! My kids were in on it, but it would make a sweet surprise for Valentine's Day, a Birthday, when they come in from the cold, or just because!

The Cool Whip melted much faster than marshmallows do. Also, because it was frozen, the Hot Chocolate cooled nicely as the hearts melted.


Monday, December 5, 2011

Thank You, Martha!

We love bacon around here.

And not just for it's amazing health benefits, including...um...well...I'll get back to you on that!

But mostly, because it's YUMMY!

But it makes my house smell like bacon. For a week. Although a few hours of Bacon Smell is welcome, you need to move on. Plus it's messy to fry up. And I'm essentially lazy and don't like to clean that much!

So! Martha suggested (Stewart that is) baking bacon in the oven. 

Total Thinking outside the Pan!

I lined my baking sheets with parchment paper, and spaced out the bacon in a single layer.
Bake at 400 for about 18 minutes. I flipped the bacon over half way through.

It worked like a charm.


Obviously it would. Martha knows what she's talking about!


The kitchen had that awesome bacon smell for awhile. There was no grease dripping from my ceiling. I didn't singe any of my arm hair off. The bacon tasted awesome and was perfectly (and evenly) crispy. And it even had fat bubbles like it normally does!


I might have to listen to Martha more often!

Tuesday, November 22, 2011

Crock Pot Applesauce!

Since I've been professing my undying love of Pumpkin...I feel the urge to say, 
"My name is Amy. And I think applesauce is yucky."

Phew! That's a load off my mind!

But. Seriously. It's kind of slimy and bland. Ugh.
My hubs & kiddos LOVE applesauce, though. And, being the terrific wife/mom I am...I've always bought it for them. I don't like buying the small plastic cups with the fear of chemical leaching hanging over my head. So I buy the jars. And my family binges on it. And then the jar gets shoved into the dark pit of the fridge. And then I find it...a dried mountain of apple stuff with an apple-ish lake in the center. ICK!

So. The last time my kids started whining asking politely for me to buy some applesauce I looked at our kitchen counter and saw a mountain of apples. CLICK when the light bulb in my head! We'll just make some. 

(Reading multiple blogs and Stalking Pinterest has given me Creative Superpowers...in my head)

I read a handful of recipes for crock potting applesauce and came up with my own version:

Peel and quarter 6 apples & put them in your crock pot.
Pour 1/2 a cup of water on top
Sprinkle on a Tablespoon of cinnamon
Sprinkle on 1/4 cup of sugar
Add a dash of vanilla (I didn't measure. Blame my Grandma. She didn't measure, either.)

Then I got my big wooden spoon and stirred it all up a bit.
See:


Cover it all up and cook it on low for 4 hours. Smells DELISH!

When times up, take your potato masher and mash them apples! It makes a beautiful squelchy noise while those yummy apple cinnamon smells hit your nose.

I plopped some into bowls while it was still warm...


...and fed it to the Masses!


Total Hit!


Thumbs Up!

And. Guess What??? I liked it, too! The flavor was awesome, and I liked how chunky and non-slimy it was!


Thursday, November 17, 2011

Pass the Pumpkin!

Here we are. In the middle of November!

It's pretty hard to believe in my little corner of the World, because our weather has been so mild!
Then our Middle One snapped me back to reality after preK this morning when he started quizzing me on Thanksgiving facts. "Well. Mom. You know it is a week from today."

Humph. I KNEW it was...I just kept not thinking about it!

That same Thanksgiving Encyclopedia I call John continued talking and talking and...talking...and said, "And. Mom. Thanksgiving means Pumpkin Pie. I'm gonna eat some. Without that white stuff. And I'm gonna make a pie sandwich. That's two pieces together. Only with out meat." And then he talked some more.

That being said, we are pretty big Pumpkin Fans. Yummmm-Me! (pronounced like yummy, just very enthusiastically)

So I about had a Pumpkin Fit when I saw this big of Sweetness over at The House of Hepworths a week ago.

Pumpkin Cookies with Cream Cheese Icing

Did I salivate? Did Pavlov ring a bell?

DING DONG!

Allison posted a fantastic tutorial / recipe for these babies!

 Check out how mine turned out:


They are so insanely moist and delightful.


And that cream cheese is literally the icing...on the cookie!
We ate these for breakfast (don't judge), snacks and dessert for two days straight. Then I forced my hubby to take the remainder to work so I don't grow as round as a pumpkin! So, be prepared, the recipe makes a LOTTA cookies!

HERE is the link again. Click it and grab your ingredients. You won't regret it.

But you just might lick your computer screen!

Wednesday, October 12, 2011

Dulce De YUMMY!


For reals, though, this crack in a can yummy sauce is called Dulce De Leche. I found the recipe here about a year or more ago and finally got around to making it!


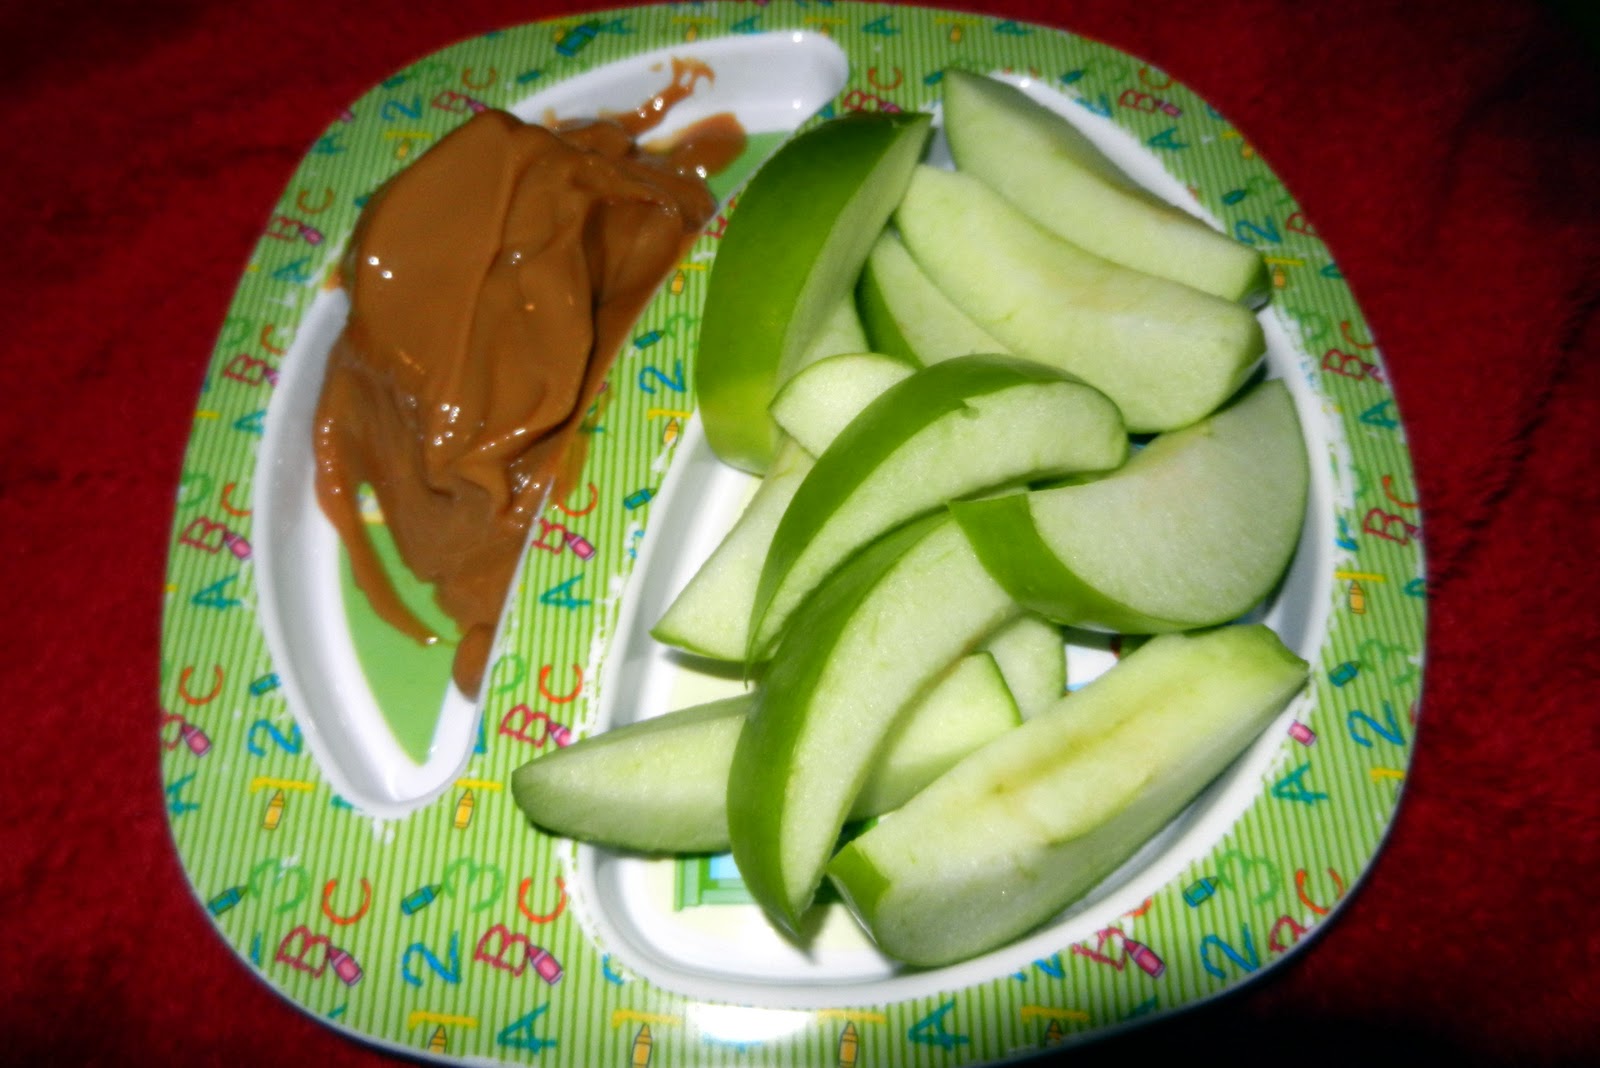
You may already know what I'm talking about...Caramel Like Goodness slow-cooked right in the can. So it isn't even really a recipe. Did I mention it's GOOD? I'm drooling as I type and glancing at my fridge. And it's EASY. I could make some more. Right now. While I snack on the jar I already made. Hmmmm...spaghetti for dinner or Dulce De Leche? I'll get back to you on that...

ANYWAY!!!

The theory is: take a couple of cans of Sweetened Condensed Milk and take the labels off. Place them in your crock pot and add enough water to submerge the cans. Cover that baby up and cook it on low for 8 hours. Then wait for the water to cool in the crock before removing the cans.

That's it!


DISCLAIMER!!!

The sweetened condensed milk people (and probably the crock pot people and maybe the fire department) don't recommend you slow cook sealed cans. I think it's an explosive hazard. Pressure and stuff like that...not sure...didn't take physics. I took chemistry, but we didn't cover this, we just made peanut brittle.

HOWEVER!!!

Mine didn't explode. 
I'm not telling you to make it. But if you DO try it...it's not my fault if your kitchen explodes. That's concludes  my Public Service Announcement on Blowing Up Things in Your Kitchen.

My only remaining instructions (if you decided to ignore my PSA and make this amazing golden deliciousness) are to open the can. Insert a spoon. Immediately eat a quarter of the can with your back turned to your family. Then cut up some apples and share!


Saturday, July 9, 2011

Ahhhhhh...Refreshing!

We don't keep pop (soda...I'm from Nebraska, though, so I call it pop!) in the house. Mainly, because I'll drink it all! I'm a total addict...mostly to Coke, but I'm not picky!

Our oldest has suddenly gotten it into his head that pop is the best thing in the world to drink...and he needs to ask a million times a day if he can have some. Ugh. Makes for a cranky Mommy.

So I'm always looking for something good and fun to drink that goes beyond the milk, water, juice cycle of our Beverage Lives.

I came across this recipe in Family Fun Magazine (love it).

EGG CREAM


Funny, because there's no eggs or no cream in it...but that's okay. It's an old soda fountain classic and it's super easy to make.

You stir together 1/3 cup of cold milk with 3 Tablespoons of chocolate syrup. Hold your spoon so that the bowl of the spoon touches the bottom of your glass. Then poor cold seltzer against the spoon. Pouring the seltzer against the spoon instead of directly into the milk and chocolate mix is what makes it all foamy.

Mine doesn't look much like the Family Fun picture...but it was certainly a treat. Kind of like chocolate pop! Our oldest LOVED it...but the younger two weren't that impressed.

It's something to try!

Wednesday, July 6, 2011

Fourth of July Goodies!

Did you all have a Festive & Safe Fourth of July???

I hope so! We sure did! We had some family and great friends over for a cook-out, snappers, play-time, fireworks and then we wrapped it all up with our town's Firework Show!


Here's my Firecracker Trio!

Anyway, I wanted to share two YUMMY goodies I made for the day.

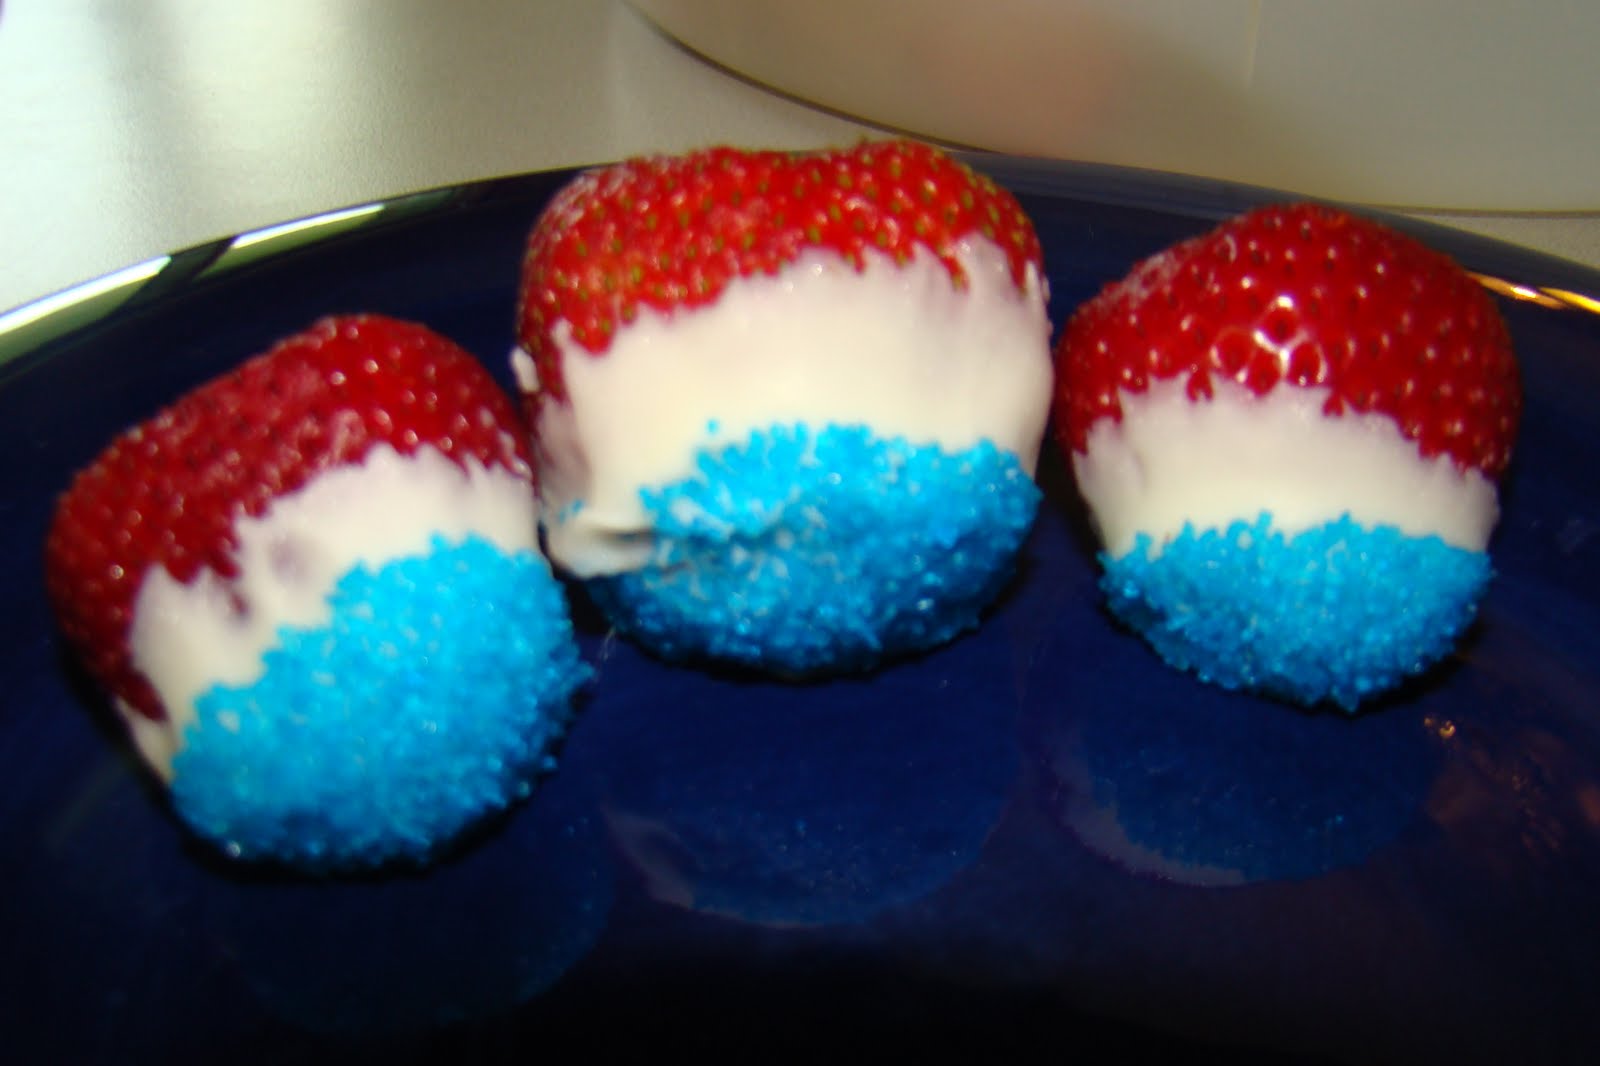
Red, White & Blue Dipped Strawberries!


These were SO easy and SO yummy! I've been seeing shots of these everywhere...so I just ad-libbed.

I washed off a container of strawberries and patted them dry. I went ahead and cut off the stems. You don't need to, but I knew my kids would be leaving green strawberry leaves everywhere if I didn't! Then I melted a bag of white chocolate chips. I did it in a saucepan...people swear by the microwave, but I can never get the chocolate to melt properly that way. I dipped the strawberries into the chocolate and made sure a nice line of red was still showing. Then I immediately dipped the chocolate tip into blue sprinkles.

I set them down on waxed paper and then I popped them into the fridge to set. YUM!


Red, White & Blue Jell-O!


I found the idea and recipe for this HERE at Brown Eyed Baker. She cut them into adorable star shapes...go check them out!!!

This really wasn't as difficult as I thought it would be. Plus, the looks on the kids faces when they saw the different colors was priceless. Plus...it was YUMMY!!!


Sunday, June 12, 2011

Cuppy Cake!

So...it's been awhile!

Long enough for me to be having crazy bloggy thoughts like, "Has it been to long? Will anyone still be interested in what I'm doing? Should I delete me and re-invent myself???" Do you ever have those days? I can't be the only one around with a nutsy lady in my brain telling me things...

But I decided to ignore "Nutsy Brain Amy" and go ahead with a New Post!

We had a WONDERFUL time on our week long South Dakota vacation. Lots of pictures (I won't bore you with) and lots of cute kid stories (I won't bore you with)!!!

Moving right along...do you Pinterest? I am in LOVE with Pinterest. And I found THESE mouth watering cupcakes on there that I HAD to try!

Cherry Coke Float Cupcakes?!?! 
Yes, please. Pretty Please...With a Cherry on Top! Literally.

Here's my version!


Drool Worthy! I followed the recipe and they turned out so yummy!


Monday, April 25, 2011

Nests Fit for Some Peeps!

Did everyone have a great Easter???

Ours was nice! The kids were bouncing on our bed by 6 am and found all their eggs about 10 minutes later! The Easter Bunny hides eggs around the house with change in them at our place. It's funny...if I would hand Louie $1.62 he'd probably think, "Okay. Weird amount." But if he finds that much in random eggs...he's ELATED!

Then we went to an early mass and sat by some great friends. I love watching the kids during service. The sun was coming in the stained glass windows and John and Kat were pointing at the beautiful colors on the wall. Our pastor was full of energy and the Joy of Risen Christ! Then we spent the rest of the day with our families...first mine and then my husband's.

Here is a cute and FUN treat my mother-in-law came up with. She got one last year from a friend and wondered if it would be easy to make some for the family this year. I, of course, said, "SURE!" So Sat. her and my brother-in-law's girlfriend (really. that's a mouth-full. can't wait till I can call her my sis-in-law! no pressure, though, guys!!!) came over armed with choco chips, butterscotch & chow mein noodles. And PEEPS! I bet you're dying to see what we concocted...right???


And Army of Peeps setting on their eggs! What came first, the Egg or the Peep? These cracked me up...but here's a fun and interesting twist...Rita Jean over at Country Maverickess posted these same treats on Sat.!  Great minds think alike!
So if you like my blog...head over to her's and I guarantee you'll like it, too!

Anywho...here's what we did. We melted a giant bag of chocolate chips and a regular sized bag of butterscotch chips. I added some oil so it wouldn't be too thick. Then in a fit of genius...I started throwing some peanut butter in. My MIL looked kind of worried, but chocolate + peanut butter = YUMMY in my book. When it wasn't lumpy any more we added the chow mein noodles. A whole bag. And mixed it up carefully trying to not break up the noodles. Your basic Haystack No Bake Cookie recipe would work wonderfully. I was just winging this.
Then I spooned little blobs of our gooey mixture onto waxed paper. Lindsey (my b-in-law's g-friend. seriously. no pressure!!!) followed me by pushing in three malted candy eggs and then my MIL followed her by dipping each Peeps bottom into the chocolate and setting it on top.


Proud Mama Peep.


It's as if she's saying, "What you lookin' at?"

Then...we ran out of Peeps. So some of the nests had to go Peep-less.


Which is okay by me...I'm not a Peep Fan. Please no hating.


Photobucket

Tuesday, March 29, 2011

Red Lobster-esque Biscuits

I don't know if everyone has a Red Lobster restaurant around where they live...
but I LOVE their biscuits. About a year ago I found a recipe for them online.
Tonight I made these yummy biscuits to go with our dinner
and I just had to share them with you all!

Here's what you'll need:


The glass of Diet Dr. Pepper is totally optional! Didn't notice it lurking there in the shot. But other than that: Milk, Bisquick, Shredded Cheddar (we were almost out so I subbed some mozzarella), garlic powder, butter, oregano and garlic salt. Preheat your oven to 400 and grease a cookie sheet.

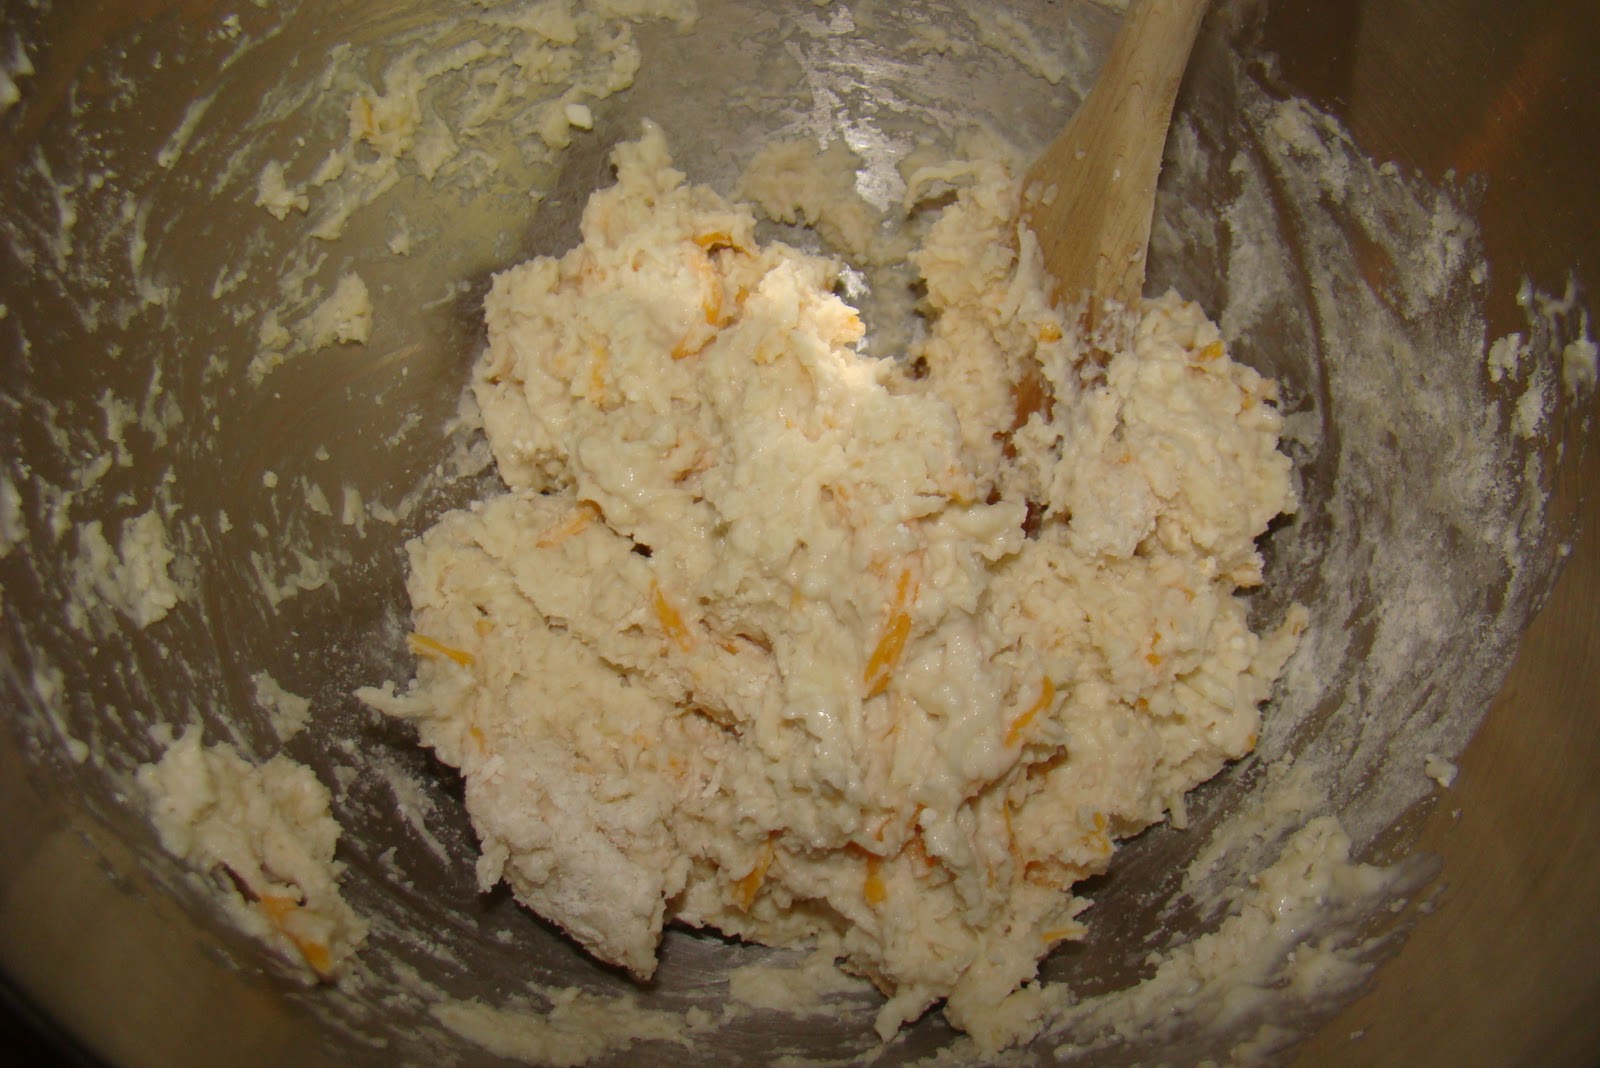
Mix two cups of Bisquick, a 1/2 tsp of garlic powder and one and a half cups of shredded cheese together.


Then add 2/3 cup of milk. The mix will be THICK!


Drop by the spoonful onto the greased cookie sheet.


Pop into the oven for 10 minutes. While your biscuits are baking, melt your butter. The recipe calls for 2 Tablespoons, but it never went far enough. These biscuits are THIRSTY and the more butter the merrier...right? So I melt a whole stick. Then mix in 2 tsp of dried oregano and 1 tsp of garlic salt.

After the 10 minutes, pull out your biscuits and brush them with the butter mixture. I have a handy tool:


It's a duck feather pastry brush. I found it at the Czech Museum in Cedar Rapids, IA! My great grandmother used these all the time and I LOVE it!


Pop them back into the oven for another 5 minutes. When times up, brush them again.


Then serve them up to some happy customers!


Photobucket

Saturday, March 26, 2011

Cream Cheese Mints

My hubby's Mom & Grandmother have Mint Making down to an art!
They do weddings, graduations, showers...you name it.
So I didn't hesitate to ask if they'd like to make some mints for Louie's
First Communion celebration next weekend.

We got together last night and whipped some out!

They mix up a bag of confectioners sugar and a block of cream cheese.
Here's my Lovely Hand Model (MIL) doing so:


Then they mix in a tsp. of peppermint extract. You can add almond, or any flavor you fancy!

And we picked out the shapes we wanted. Louie's statement was "NO FLOWERS, MOM!"

He liked the cross and the praying hands, but to add come color we picked the clover shape.
They did a unit at school using a clover to represent the Father, Son & Holy Spirit.


We then split up the dough and kept half white and added green coloring to the other half.


To get our work surface ready, we put down parchment paper and
fill some shallow bowls with granulated sugar.


We fill the molds with sugar to make it easier for the dough to come out. Then pinch of a small amount of dough and roll it into a ball. Roll the ball around in the sugar. (This is a very HEALTHY recipe!!!)


Press your sugary low-cal dough ball into your sugared up mold! When you turn the mold over and
gently tap on it (hopefully) you'll get a perfectly shaped mint. If not, re-roll and try again!


Here's a shot of Louie doing the praying hands with Great Grandma Ginger!


Photobucket