Oh...I just love the word "poofy". It makes me smile! Poofy. Smile.
Welcome to a new week! I'm a little bit addicted to scouring blogs when my kids are sleeping and I'm finding LOTS of new ornament ideas. So many ornaments...so little time left. I may have to start doubling up!
Today's ornament is HUGE. So huge my DH was wondering how I would hang it on the tree. A word about our tree...we have an artificial one. We've got some pretty serious allergies AND I'm lazy and don't want to be watering and vacuuming all December long. Anyway, we inherited my parents old tree and, frankly, it's got some bare spots. I like to think of them in terms of the Velveteen Rabbit...the tree has just been loved too much. Well, I found a nice loved empty spot and stuffed my super-sized ornament right in there!
Isn't it cute?!? I like to call it artsy-fartsy. I guess that means a big adorable mess! Our three year old asked me today, "What that doing on the tree? It goes on a present!" I found the idea here last year and didn't get around to it until now.
My idea was to just use the dark green ribbon and the red and white polka dot ribbon. Let me tell you...it takes a LOT of ribbon. Here's what I started with:
I cut five strips in each pattern and size. Didn't go far! You need LOTS of ribbon! Have I mentioned that? So much...I lost count. Here's my poof ball in the middle of the process:
Still a lot of baldness! This is when I added some of the other patterned ribbon. What you want to do is form your ribbon into a little roll (like you would with scotch tape) and then pin it to your foam ball. I started out using two pins per ribbon, but then I switched to one and that worked fine. For the hanger, I took a plain red ribbon and cut it longer than the rest. I pinned the heck out of it to make sure it was nice an attached. The end.
Monday, December 13, 2010
Sunday, December 12, 2010
Peppermint Candy Wreath
Well...the weekend is wrapping up and I just feel so cozy and Christmasie that I think I'll feature TWO ornaments today! That's right...TWO!
So that was the first one. As you can see...it was VERY complicated! I use these little bulbs to fill up pitchers and bowls and to decorate around the house. While looking at a red one...I thought it looked just like Santa's round belly! Add some black and yellow felt to make a buckle and belt and you're done! Isn't cute? It makes me want to say, "Ho! Ho! Ho!"
My next ornament is one we did last year. I found the idea here on Ramblings of a Crazy Woman. I LOVE her blog...she has such great ideas! Anyway, isn't the ornament pretty???
They are so bright and festive! And all you do is line a cookie sheet with foil. Arrange your peppermint candy disks ($1.00 for a bag at Wal-Mart) and pop them in the oven. I set our oven at 250 and I checked them every few minutes. At 10 minutes, you could tell the candy had melted enough and was starting to blend together. Take them out and let them cool. Then carefully peel the foil from the backs! I red & white puffy HEART these ornaments!!!
Saturday, December 11, 2010
Paper Globe Ornaments
Today the wind is blowing and the snow is falling and it's seriously getting me in the Christmas Mood!
Our ornament for today is another super simple one! I found the idea here. You need some scrapbook paper, a ruler, pencil, scissors, a hole punch and brads. I cut my paper in one inch by six inch strips and it worked, but next time I'd make them thinner and longer. I had some bending issues... So here is what I started with:
Punch a hole on each end of every strip. The I had ten strips ready, but I only ended up using six. Then stack your strips up and fasten them at one end with a brad.
Now the original poster fastened them on each side and then gently spread out the strips to create a globe. I couldn't get it! So I unfastened one side and spread out the strips.
Then I flipped the whole thing over and bent each strip back one at a time to form the globe. When I had all the opposite side holes matched up, I fastened them with a brad.
Here is where I had to cut down my number of strips. Again, if I had cut the strips thinner, I think more strips would have worked out all right. In the end, though, it turned out great! Here it is on our tree:
Friday, December 10, 2010
Felt Button Bulbs
Happy Friday, Everyone!!!
Here is the ornament of the day:
I was feeling all Felt-tastical after my cute little felt owl from yesterday. I had visions of felt ornaments dancing in my head. Anyway...I think this turned out kind of cute. The buttons kind-of creep me out, though. They remind me of those new dolls that are out with the button eyes. And those dolls creep me out because they make me think of the movie, Coraline. Which, I'll admit, was a great movie...but on the disturbing side.
SO! Now that I've talked myself through my button-phobia, back to the ornament! I just plopped down some green felt and I used the bottom of a mason jar to outline a circle. I cut out two circles and then placed one down to arrange the buttons, like so:
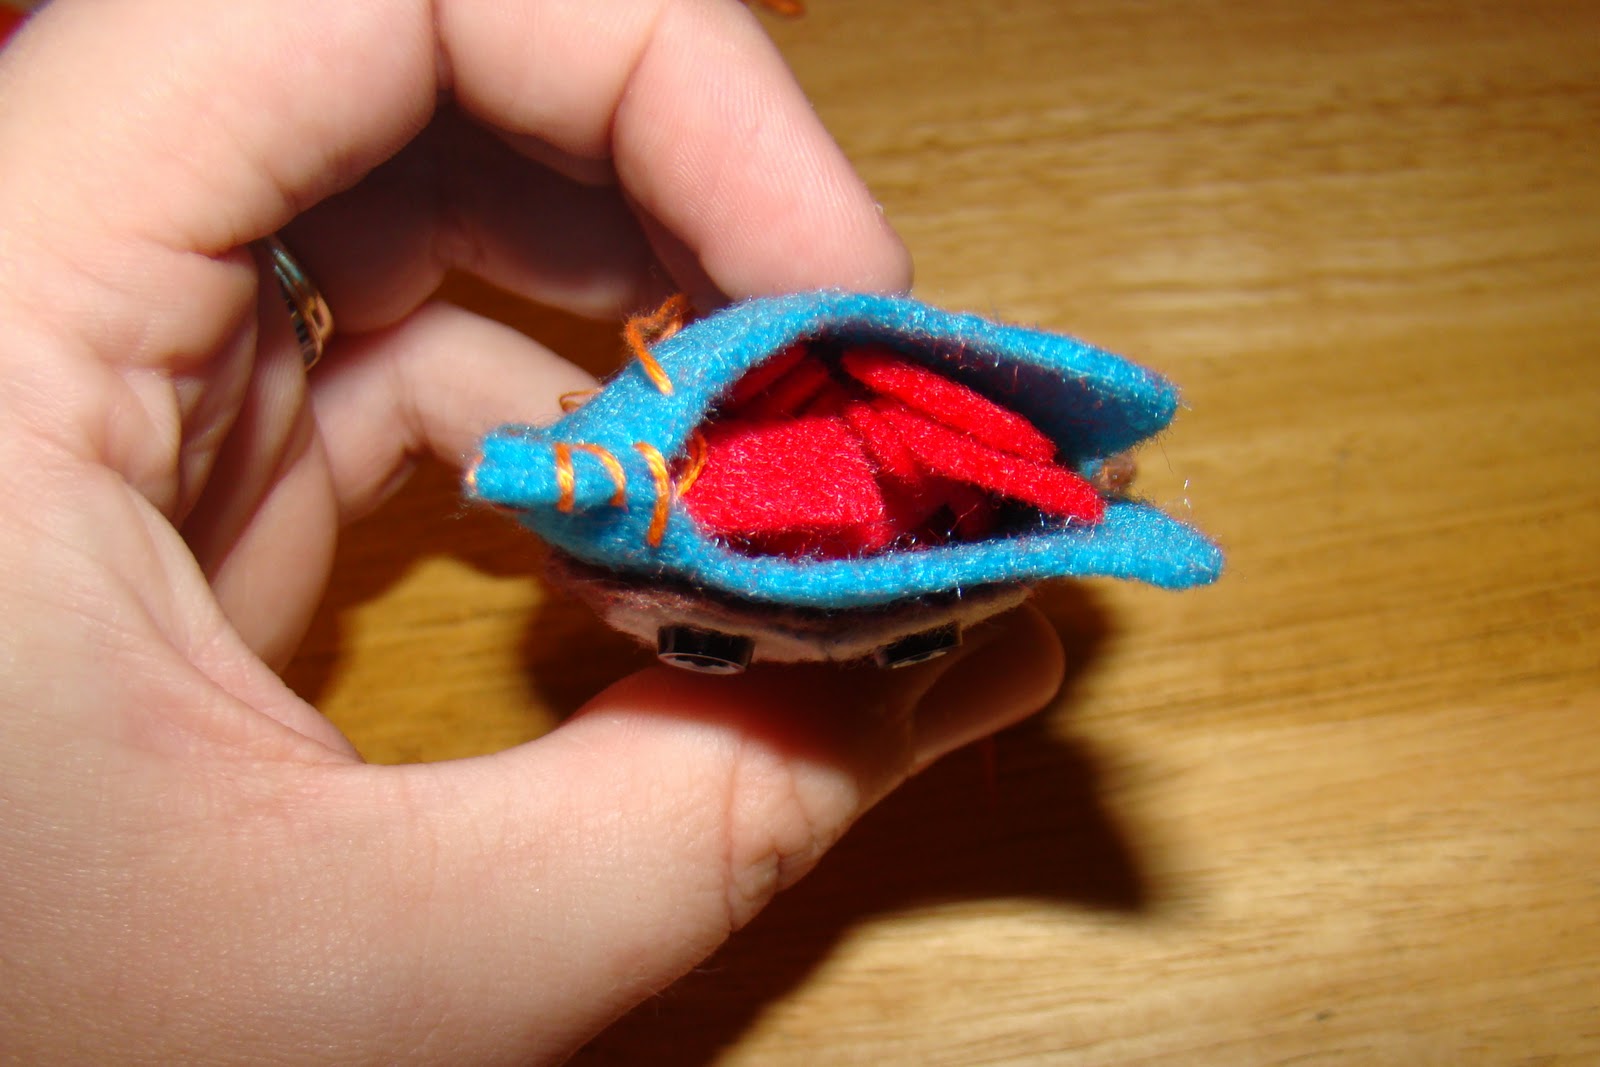
I played around for awhile and ended up liking the three buttons that are on the finished piece. I stitched the buttons on first and then whip-stitched the two pieces of felt together, stuffing the middle before I completely sealed them up. Then I added some string to hang it with! Very easy!
But...there is a dark side to this ornament...I actually made TWO, but one ended up getting scrapped. As I was whip-stitching away (I really DO need to practice that more) my eyes strayed over to my bottle of tacky glue. And I thought, "Hey! We used that stuff ALL the time back in Girl Scouts when we worked with felt!" So I tried to glue my other ornament together. Yeah. Didn't work! Roll Ornament Blooper Footage:
Everything seemed easier in Girl Scouts!!! But I DID rescue the buttons to use another day...
Thursday, December 9, 2010
Felt Owl Ornaments
I have a long term affection for owls. There was a super cool velvet picture of an owl in my great grandparent's basement that I loved to look at when I was little (I wonder what happened to that?). Anyway, I am delighted that they seem to be making a come back!
And I was even more delighted when I found this at U-create! I clicked on the link and followed the tutorial and now I'm going to share it with you!
I started out at Michael's and went hog wild in the felt aisle. I can't believe the awesome colors of felt that they have! I settled on some funky colors, so maybe Miss Sassy Owl can hang out somewhere around the house even after Christmas. Next, I printed out the templates from the original poster, Jessica at Juicy Bits. Then I cut everything out. Time to assemble my owl!
I had these mini-black buttons to use for eyes. This is where I started.
Then I stitched the eye-balls onto the next piece. And attached the beak. Already...so cute!
Then I attached the hot-pink tummy part and the wings. Then it's time to start stitching the front of the owl to the back of the owl. I decided to use a whip-stitch. Which I haven't used since 8th grade Home Ec. So my stitches are a bit...uneven...! When there was just a little bit left to go, I stuffed her! I didn't have any official stuffing and I didn't want to buy any. Instead, I've been saving scraps from other felting projects and I cut them up into tiny bits and used them as stuffing. Worked great!!!
Then I finished stitching the last bit and it was time to hang Miss Sassy Owl on the tree!
I LOVE the way she turned out! Now I just have to work on my stitching skills and I'm ready to make a flock! Are a bunch of owls called a flock? Or are owls more solitary? Whoooo knows!?!
Wednesday, December 8, 2010
Pony Bead Fun
I've been having the kids help me here and there through this last week of ornaments, but today's feature is all Louie & J.! I bought this ridiculously huge tub of pony beads for a Thanksgiving project...but aren't they pretty???
Right here and now I am going to confess my love for http://familyfun.go.com/ and also their print magazine, Family Fun. I've gotten SO many ideas from them. All their projects are simple to follow, not very expensive and my kids ENJOY doing them. And this is where I got the fantastic idea to use up some of our excessive pony beads.
This ornament required pony beads and pipe cleaners. And two little men who had no trouble putting off bedtime to help Mom in her quest of ornaments!
I gave them each a bowl of beads and two pipe cleaners and told them to string on the beads. When they were finished I made a circle out of each pipe cleaner and then connected the circles by wrapping the ends around each other. They ended up looking like this!
I'm VERY happy with how they turned out! Who thought pony beads could look so elegant? Well...maybe not elegant...but festive, at least! And with the bend-ability of pipe cleaners...you can make trees, stars, candy canes, icicles...whatever you want!!!
Tuesday, December 7, 2010
Sparkle Snow Ornaments
I'm still going ornament strong! Today's almost feels like cheating, though. I say "almost" because is there really anything wrong with super easy / cheap decorating this time of year? NO!
So...(drum roll)...I present to you...my lucky readers...this remarkable ornament...(continue drum roll)...for your crafting Christmas pleasure.
YES! You too, can make this pretty, sparkly, snow ornament. Remember those incredible plastic bulbs I found??? Well, I bought TWO. And then I found this bag of fake snow at Oriental Trading while looking for buttons that you'll see in the next few days.
This bag could have filled 10 of these bulbs! But, alas, I only had the one. Anyway...it was MESSY, but fun! We dug out the funnel (I must remember to buy a smaller funnel for stuff like this) and spooned the stuff in. I was thinking...instead of buying fake snow, you could also grate up some old broken white crayons to use. Making this even cheaper! You can also get all kinds of Christmas Crazy and add mini-Santas or what-nots and make it a Snowy I-Spy Ornament.
You want to see it again in all it's tree hanging glory, don't you???
Subscribe to:
Posts (Atom)