Showing posts with label Valentine. Show all posts

Tuesday, February 12, 2013

Heart Hair Clip

Nothing says My Sweet Valentine more than Hearts!
I found this cute idea for a Valentine hair clip at Skip to My Lou. There is a simple crochet pattern to make the heart with embroidery thread. This is the first time I've used anything but yarn to crochet with and I loved it! I've got a whole new world of  hearts and flowers and butterflies!


Perfect to pull back some wispy Lil Valentine hair!


Linking Here:


Monday, February 11, 2013

Crochet Heart Bracelet

Two Blog Posts in One Day!

I'm on Fire!

I wanted to share these cute and easy bracelets I made last year for my Katy Bug!


I saw them over at Tangled Happy, and there is an easy-to-follow pattern with lots of pictures along the way!


I was able to use some left over white yarn from my stash and I found the pretty heart beads in the Wally Mart craft section. Note the faded Mrs. Potts & Chip tat on Katy's hand. She's such a rebel!


I Heart Hot Chocolate

We are a Hot Chocolate type of family. When it's frosty and chilly and snowy and we've been outside nothing is yummier to warm up with.

OR

When it's frosty and chilly and snowy and we've been inside *looking* outside!
I'll repeat. Nothing is yummier!

We decided to show our Love of the Treat and Celebrate the Month of Love all at once.


Why yes. That is a giant Heart floating in some Hot Chocolate. I'm sure you've seen shots of this on Pinterest and around. I'm not the inventor of the idea. And I'm not sure how everyone else does this...but I'll tell you how we did it!

I thawed a tub of Cool Whip. Then I flopped it on a sheet of wax paper and tried to spread it out evenly. I say "tried" because my children seem to think that as soon as the Cool Whip is out of the Tub it is perfectly acceptable to dip their fingers into it and chow down. (I wonder where they get their table manners from?) So...anyway...I was rushed.


Put your Sheet 'O Whip in the freezer. This is the hardest part. You have to wait for it to freeze.
And. It. Took. Forever.

So. We pulled it out when it was solid, but only just.
Use a cookie cutter in the shape you desire, and cookie cut away!


I think if we would have waited for it to become more firm it would have been not so messy pulling up the hearts. But it wasn't too bad! Maybe a few fingerprints...


Then heat up some Hot Chocolate and garnish it with your Cool Whip Heart.


Waste not Want not...Mom's mug got all the little non-heart bits left over from cutting!


This was really a fun way to serve up Hot Chocolate! My kids were in on it, but it would make a sweet surprise for Valentine's Day, a Birthday, when they come in from the cold, or just because!

The Cool Whip melted much faster than marshmallows do. Also, because it was frozen, the Hot Chocolate cooled nicely as the hearts melted.


Monday, February 14, 2011

Happy Valentine's Day!!!

How do you celebrate Valentine's Day? Do you make a big deal out of it with fancy dinners, flowers and such? Or do you keep it low key?

We keep it pretty low key. We did a lot of crafts leading up to today and the kids do their Valentine cards for school and that's about it! This year my lovely hubby surprised me with a subscription to Family Fun magazine (it's my FAVORITE!) and now I don't have to check out issues from the library.

The BEST part of my day, however, was learning that my Stamped Heart Flowers were featured on {Dot}{Dot}{Dot}!!! I am SO excited. If you're a blogger...then you know that when you are starting out (like me right now) it is FANTASTIC to have a fellow blogger (esp. one you are following) feature one of your things! I am Over The Moon excited!!! Thank you, Tasha, I've been smiling all day!

Now moving on to this cute shirt I made for Kat:


She was busy "reading" and couldn't be bothered to pose for me! I got the idea here, and thought these hearts would work just as well for a toddler. I hit the clearance shelf at Wal-Mart (I know. There's a lot of Wal-Mart hate out there...but I just can't quit them!). I gave it a washing and then inserted a piece of cardboard in the center to keep the paint from bleeding through.


Then I grabbed a toilet paper roll from my stash and cut off about a one inch band. It took some shaping, but I got it to resemble a heart.


Then I dipped the edge into some purple paint and stamped out the 3 x 3 design and chose one of the hearts to paint in completely.


Taa Daaa! Now. Go grab some chocolate and cuddle up with your honey. There's an hour and a half left of Valentine's Day!

Saturday, February 12, 2011

Stamped Heart Flowers

It's almost Valentine's Day and we're geared up and ready to go! Holidays are so much more fun now that we have the kiddos...they get SO excited about things and their excitement is contagious!

I've got another craft to share. I found these cute "flowers" here at Maya Made and fell in love with them. This is a project that both boys enjoyed and they love handing out bouquets made up of these "flowers"!

We started by drawing hearts onto a kitchen sponge (a new clean one!) and cutting it out. Here is Louie-the-Sponge-Hearted.


I can't get this kid out of his tie dye shirt. We'll have to make up some more of them this summer. Anyway! Then we started stamping red and white hearts on brown and white butcher paper. John was happy about this because his fingers stayed pretty clean!


Hmmm...clean fingers, but painty table and jammies! Oh well!


Magnificent gooey paint hearts! We finished stamping and then hung them up to dry. Then the next day I cut out around the hearts and paper punched them at the bottom point.


Then I got out our pipe cleaners and cut them to some different lengths.


I grabbed my Button Bag and pushed one end of the pipe cleaner through my button.


That last photo makes me giggle. Not sure why... ANYWAY! I coiled the tip of the pipe cleaner so it wouldn't slide off. Then I fed the pipe cleaner through the holes I punched in the hearts.


I should note that my boys had given up on this project by now. They are about as crafty as...I don't know what...but not much! They're MUCH more into cooking & baking. But, this would be a great project for a child to do on their own...I've got high hopes for the girlie...

Scootch those hearts up to your button and then thread another button on behind them. Squeeze the buttons together to make a tight fit.


I was worried about this second button slipping out of place. I picked smaller buttons to do the job, and so far so good! Your final step is to fan out your "petals" and display them in a pretty spot!


I'm linking up to these parties!!!
Show and Tell Green

Monday, February 7, 2011

Bubble Wrap Hearts

We had one crazy weekend over here!

Now it's Monday and I think I've been bit by the flu bug. Ugh! You know how if feels...like there are giant weights dragging down your arms, legs & eyelids. And you're so achey, you hair hurts! That's me today.

My lovely hubby is taking over my Cub Scout den meeting this afternoon and I'm home with my cuddly J & Kat. They are playing so nicely and quietly that I thought I'd grab my computer and try to get my mind off feeling yucky.

Here's our newest Valentine project!

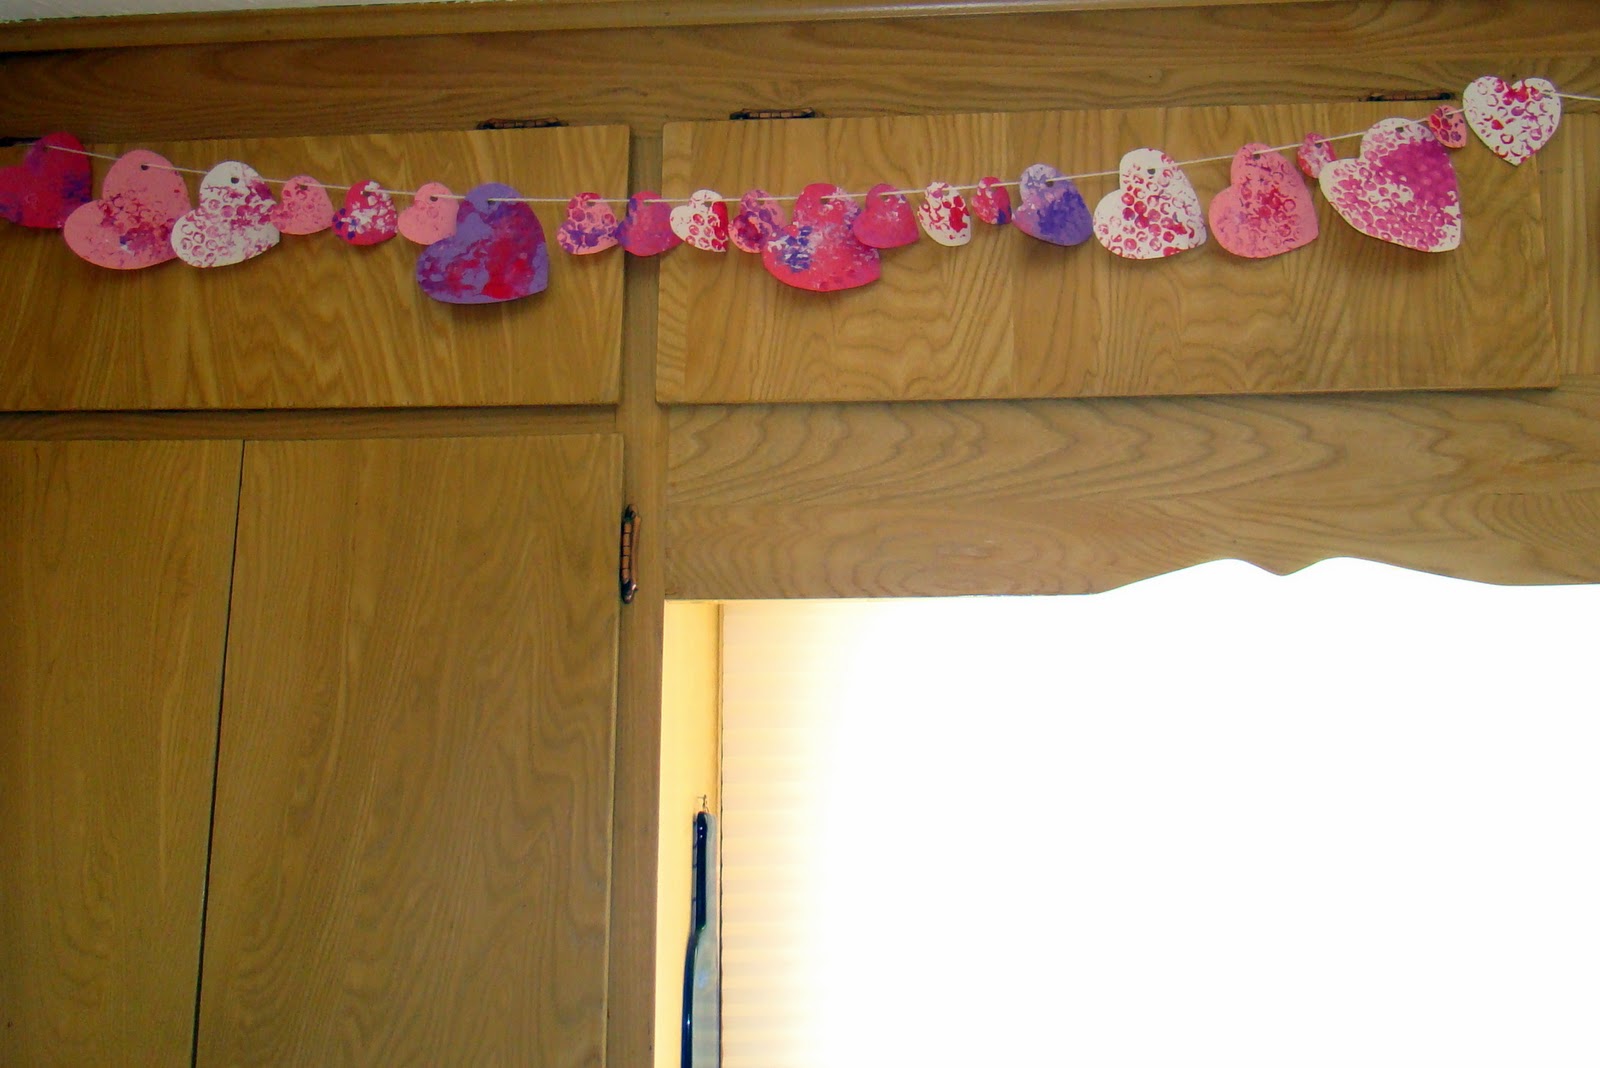
This crazy big Heart Garland that I've strung up above our kitchen sink. (Sorry about the glare!) We had SO much fun making it...except for maybe J who HATES to get his hands dirty...or rather...he HATES to wash his hands, so he avoids getting them dirty at all costs!

We started with some bubble wrap and paint. I asked the boys to pick "Valentiney Colors" and this is what they brought me.


The seven year old brought me red and white. The three year old brought me pink and purple. I found that interesting. J is definately our one to think outside the box! I then instructed the boys to paint on their bubble wrap (we did this back in November to make Indian Corn).


Here's where J backed down. "It get on me's hands!" Louie trooped on. When you've painted your bubble wrap the way you want it, press it down on some paper.


Then gently pull it back to reveal your pattern.


We then hung up all our sheets to dry overnight. The next morning I pulled out my handy cookie cutters.


I love the variety of sizes! I used them as stencils and traced out hearts over the bubble prints.


Very cool! The patterns are amazing! Then start cutting out your hearts.


Keep cutting...while your three year old with clean hands slowly takes over the table with his Thomas stuff!

Then I punched a hole at the top of each heart (I wanted mine to dangle a certain way so I only punched one bump per heart). And I strung them up on some white yarn.


Then I strung them up above our kitchen sink! I really like bubble wrap stamps...each stamp is so individual! I'll probably be doing something for St. Patrick's Day with this...BEWARE!

There. I was productive for the day! It's time to grab my youngest two, throw an afghan over us and cuddle till Daddy & Louie come home!


Linking Up HERE!



Today's Creative Blog


Friday, February 4, 2011

Valentine "Art"!

Happy Friday, Everyone!

I've been hesitating to post this Valentine project, because I found it on a blog, tried it myself, LOVE the result...and now I can't find the blog to give credit where credit is due!

So...DISCLAIMER!!! I did not come up with this very inexpensive, fun, unique decorating idea on my own. I copy-catted someone who is WAY better at seeing potential in the Dollar Bin at Target than I am. I just forgot WHO this person is! So, if you are that person...or you know her...PLEASE leave me a comment so I can link my post back to the home of this fantastic idea!

That being said...check it out:


It's a bad photo, but I love how it looks in real life! I think I may need a new camera (hint hint, honey!). Anyway, the frames were in a 3-pack for $2.50 in the Dollar Spot at Target. I got the stickers there, too, for a buck. The scrapbook paper I already had at home. SO...this whole project was three dollars and fifty cents! Woo Hoo! And it works great in this skinny little bit of wall right next to our front door!


I unscrewed the backs of the frames and took out the plastic piece that would normally go on top of your photo.


Then I traced the frame opening onto my scrapbook paper and cut out the square. I glue-sticked it to the cardboard of the frame backing (the flap that opens up to allow you to put the photo inside). Then I re-screwed the back onto the front.


Then I picked out the stickers I wanted and placed them on the scrapbook paper. Without the plastic face of the frame, there is a cook 3D effect. I really like the blingy hearts!

Wednesday, February 2, 2011

Paper Heart Garland

Before I move onto my Paper Heart project...HAPPY GROUND HOG'S DAY!!!

I kind of forgot about it, actually. Here in the middle of the USA we are freezing our hineys off. It's kind of hard to think about Spring. Not sure if Ol' Punxsutawney (let's see what my spell check makes of THAT!) Phil saw his shadow or not, but it's going to be Winter for a bit longer here in Nebraska!

Anyway...with all the blowing snow, ice and Penguin temps, we fought our way through a SECOND snow day, today! I may be crazy, but I kind of like snow days. When I was little, they meant baking cookies, warm fires in the family room, cozy blankets and watching movies with my mom. Thanks, Mom! Of course, I was an only child and way more tame than our monsters! But we've had a fun couple of days here...back to the grind stone tomorrow...

Right. Paper Hearts! I'll start at the end result and work my way backwards...


Hmmm...they're kind of hard to see in this tiny photo. But I've got them hanging from our shelves in the living room. I still have to put up our "old" Valentine's decorations, so the shelves look pretty bland right now. I can also do a tutorial later on the art of crafty blanket throwing! Sorry about that mess on the love seat!

Okay...now here's a close up:


I love how cute and simple these are. I used regular pink, red and white construction paper. I cut 1 inch strips length-wise. Then I folded each strip in half and used a pencil to roll each end into the center fold. You get these tight little curls at first, but then they loosened way up. At first I was kind of dissappointed, but the look kind of grew on me. I suspect that if you used a toothpick and maybe thinner strips they would stay curled up more.

Anyway! I used a thread and needle to "sew" through that center fold. Then I used double-sided tape between the two curls to hold the heart in place and attach it to the thread. Now, I've seen these garlands on many blogs, but I specifically used the instructions on How About Orange.


So now we've got these cool Paper Hearts hanging out in our living room!

Tuesday, February 1, 2011

Valentine Luminaries

I'm on a mission. A Mission to Create Valentine Crafts. This mission...should you choose to accept it...will require random crafty supplies, setting your children in front of the tube (just kidding. kind of.), and reading endless awesome blogs for inspiration!

During some blog meandering, I found these super cute Valentine Candle Holders here.

I was transported me back about 15 years to a Christmas craft I did while babysitting my little cousins (EEK! Who are now in college and high school! When did I get so old?). Back in the day I used juice glasses I found at Goodwill, red & green tissue paper & watered down Elmer's! While I'm still an avid Goodwiller...I'd like to think my methods have become more sophisticated. Observe:


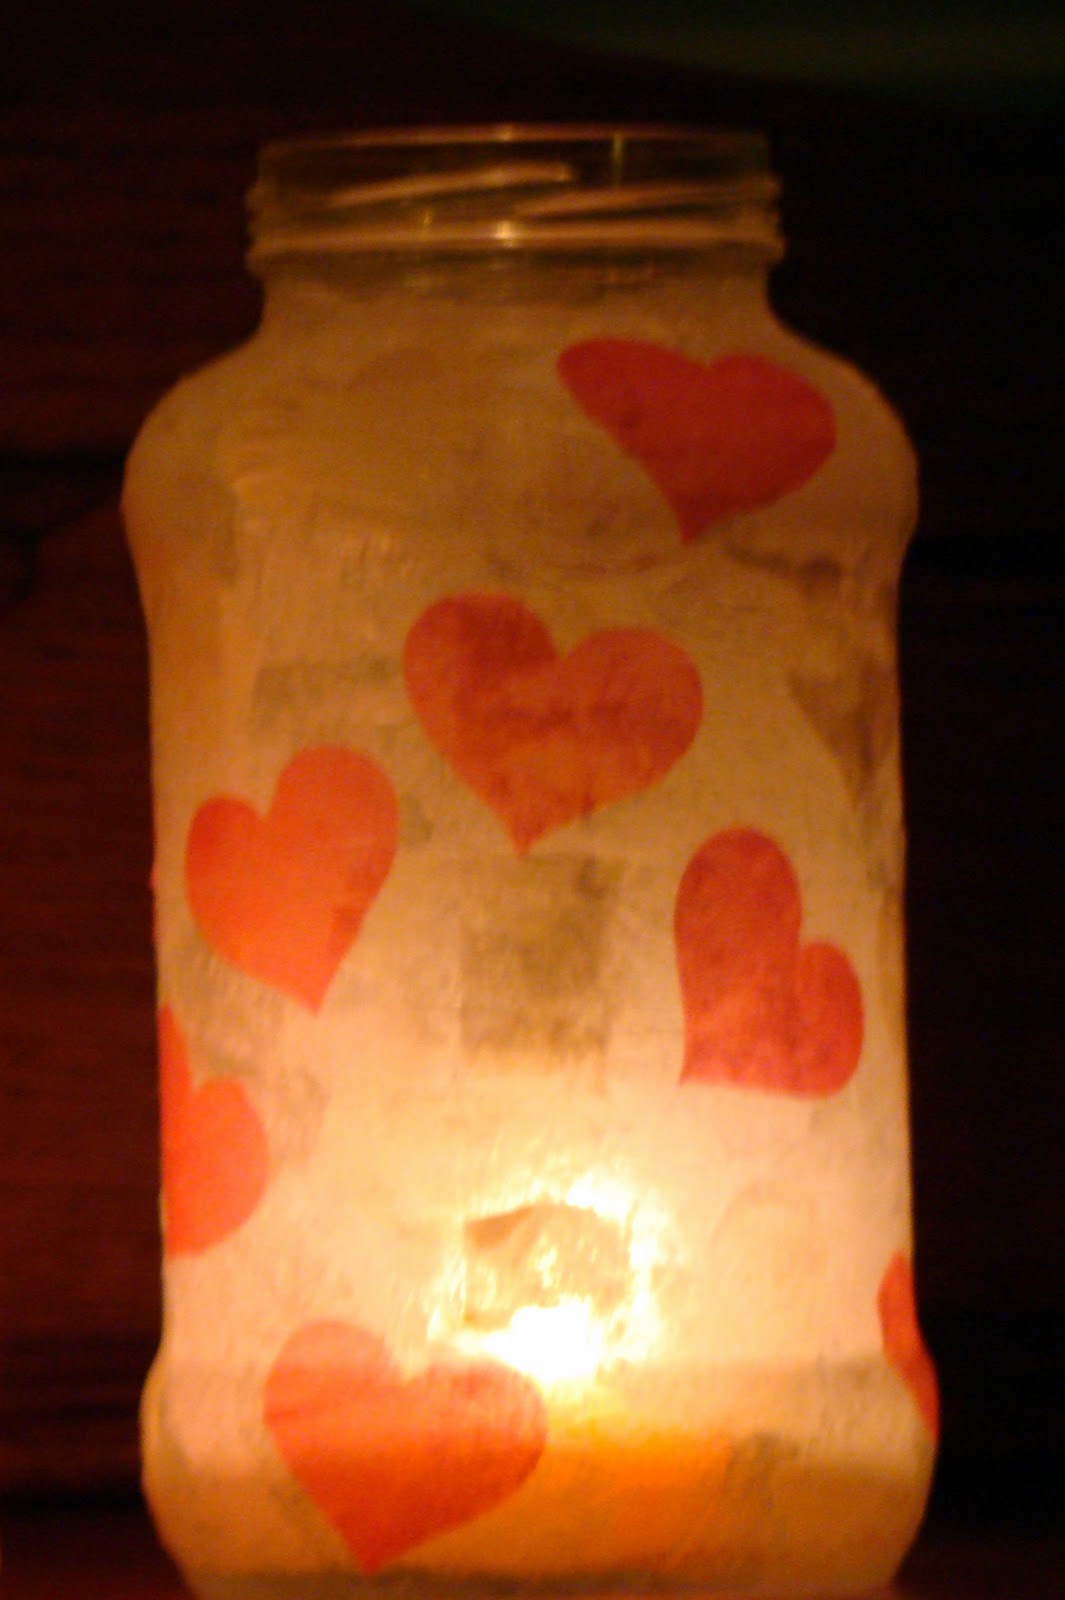
Ummm...well...I've got a re-purposed Ragu jar, tissue paper (deja vu), Modge Podge (WAY more professional than water & glue...but it does the same job), and this super nifty heart cutter. Want a closer look???


Lady Kat & I were getting lost at JoAnn's and the paper cutting supplies were 40% off! YIPPEE! I picked up this baby & random other stuff and the total was less than this Fiskars cutter was to begin with! Makes me smile just to think about it...

I used this tool to make the collection of pink hearts in the first picture. Then I did some anger management and ripped up some white tissue paper. I slathered Modge Podge on my clean Ragu jar and attached the white tissue. It gets bumpy and wrinkly, but I like that look...so I went with it. I covered the entire jar like this and did a light coat of Modge Podge over the top. Here is the gloppy look you'll get:


Doesn't look like much yet. Then I started adding the hearts. With my first one I did them willy nilly. The tissue heart stuck to the top Modge Podge layer and I lightly brushed over the top of the entire heart.


Let your jar completely dry. Then do as many more as you'd like! Here's my collection:


So cute. So simple. So NOT expensive! Pop a candle inside and watch it glow! HA! I just noticed one of the handles on the chest is pointed up. Thanks, Lady Kat!

Close ups:


And my favorite...Can You Feel the LOVE?


I'm linking up at these fun parties!


It's a Blog Party